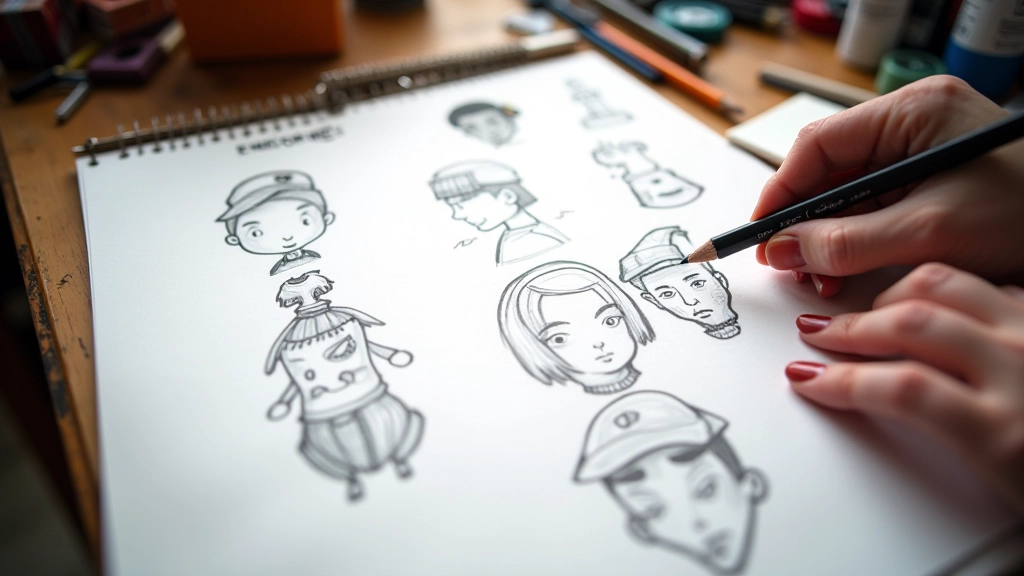
Getting Started with 3D Character Modeling
Learn the fundamentals of sculpting and topology in Blender. We cover the tools, workflow, and techniques you need to build game-ready characters from scratch.
From skeleton setup to smooth movement. Here’s what you need to know about bringing characters to life in games.
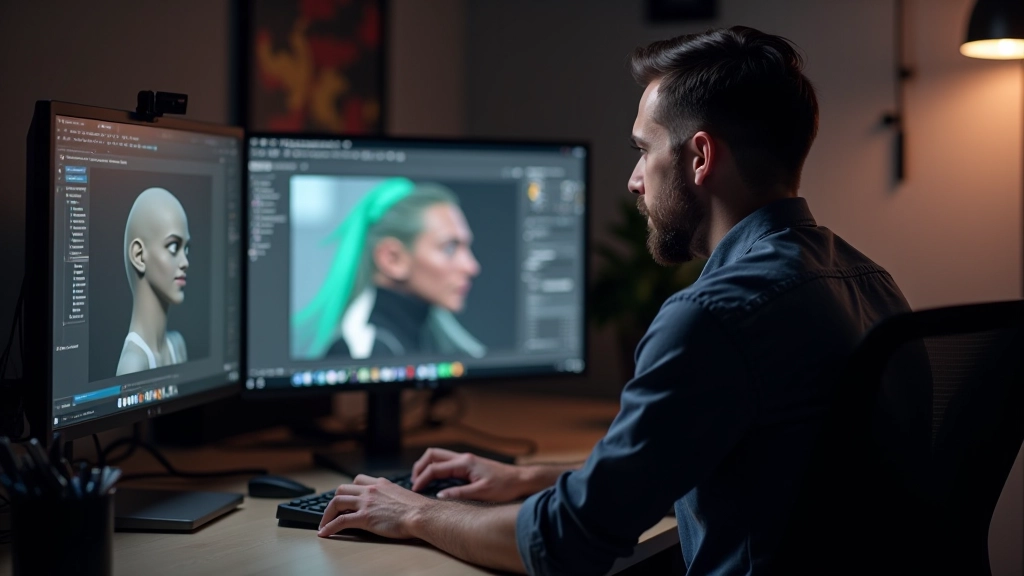
You’ve got your character model finished. The geometry looks clean, proportions feel right, textures are polished. But it’s static. It can’t move. That’s where rigging comes in — it’s the skeleton underneath that makes animation possible.
Rigging isn’t just about slapping bones into your model. It’s about understanding how joints bend, where deformation happens, and how to build a system that animators will actually want to work with. Do it wrong and you’ll have twisted shoulders, collapsing hips, and animators who hate their job.
We’ll walk through what actually matters in rigging, the workflow from skeleton to skin, and the specific techniques that separate quick rigs from production-quality work.

The skeleton is your foundation. You’ll typically start with a spine chain — pelvis, lower spine, mid spine, upper spine, neck, and head. That’s your core. From there, you branch into limbs. Arms get shoulders, elbows, wrists, and usually hand joints. Legs get hips, knees, ankles, and feet.
Joint placement is critical. A knee that’s not positioned correctly will twist unnatural when the leg bends. An elbow that’s too far back creates ugly deformation. You’re not just eyeballing this — you’re measuring against your model’s geometry.
Most game characters have 40-60 bones. A high-detail character might go to 80 or 90, but you’re running into performance issues fast. Console and mobile games especially need efficient skeletons. Every bone costs compute time, so you prioritize what matters for animation and gameplay.
Skinning is where bones influence the mesh. You’re assigning vertices to bones and giving those assignments weights — numbers that determine how much each bone moves each vertex. It’s the difference between a rig that looks natural and one that looks broken.
Most tools start you with automatic skinning. Don’t trust it completely. Automatic weight painting gets you 70-80% there, but you’ll spend real time refining. That shoulder joint where geometry creases? You’re hand-painting weights. That elbow crease that disappears when the arm bends? Manual adjustment.
You’re looking for smooth deformation with minimal pinching or collapsing. Test rotations early and often. Bend the elbow 90 degrees. Does the bicep bulge look right? Rotate the shoulder — does the upper arm crease correctly? These details matter because animators will see them on every frame.
Pro tip: Use multiple influence bones on high-deformation areas. That shoulder needs the clavicle, upper arm bone, AND some chest influence. The ankle needs foot plus shin influence. It’s the difference between game-quality and indie-looking rigs.
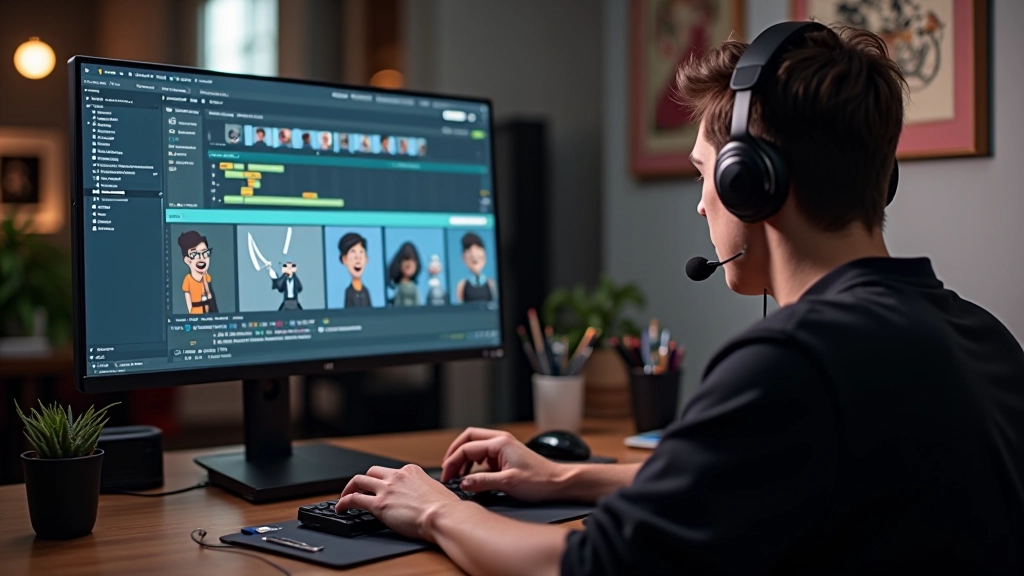
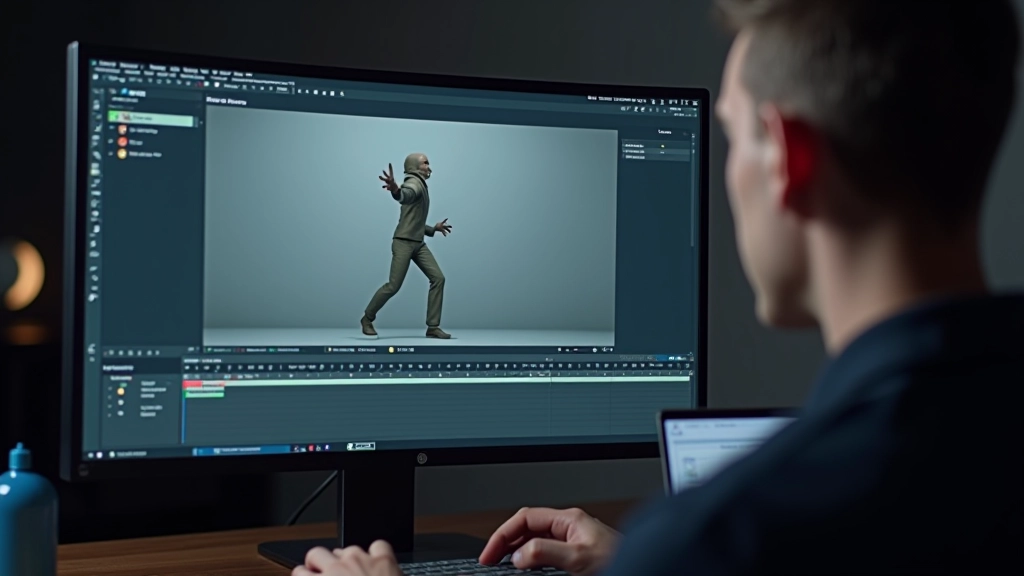
Once your rig is solid, animation begins. The animator sets keyframes for poses, and the software interpolates movement between those keyframes. A walk cycle might be 24 frames. A punch combo could be 30-40 frames. The rig handles the deformation as bones rotate.
Here’s where rig quality becomes obvious. If joints bend naturally, if shoulders follow spine rotation, if feet plant without sliding — animation feels fluid. If the rig’s broken, no animator can fix it in the animation layer. They’ll fight the rig the whole way.
Controllers matter too. Animators don’t rotate bones directly in game rigging. They use controllers — visual handles positioned at logical animation points. Hand controller at the wrist, foot controller at the ankle, hip controller at the center. These controllers drive the bones underneath through inverse kinematics (IK) or forward kinematics (FK).
Rigging bridges the gap between static character art and living, breathing gameplay. It’s the invisible infrastructure that makes animation possible. You won’t see the bones in the final game — players only see smooth character movement. But every walk, run, attack, and idle pose depends on your rig working correctly.
The workflow is straightforward: build skeleton, skin the mesh, create controllers, hand off to animation. But the details inside each step separate quick work from production quality. Joint placement, weight painting precision, controller placement — these details compound. A rig that’s 90% right feels 50% wrong to animators and players.
If you’re building game characters, invest time in your rigs. Test early with animators. Iterate based on feedback. It’s the foundation everything else rests on.

The techniques and workflows described in this article are based on industry best practices and educational material. Software versions, tools, and recommended approaches may vary depending on your specific 3D application, game engine, and project requirements. Always refer to your software’s official documentation and consult with experienced professionals in your production pipeline. Results depend on skill level, experience, and the specific tools you’re using.