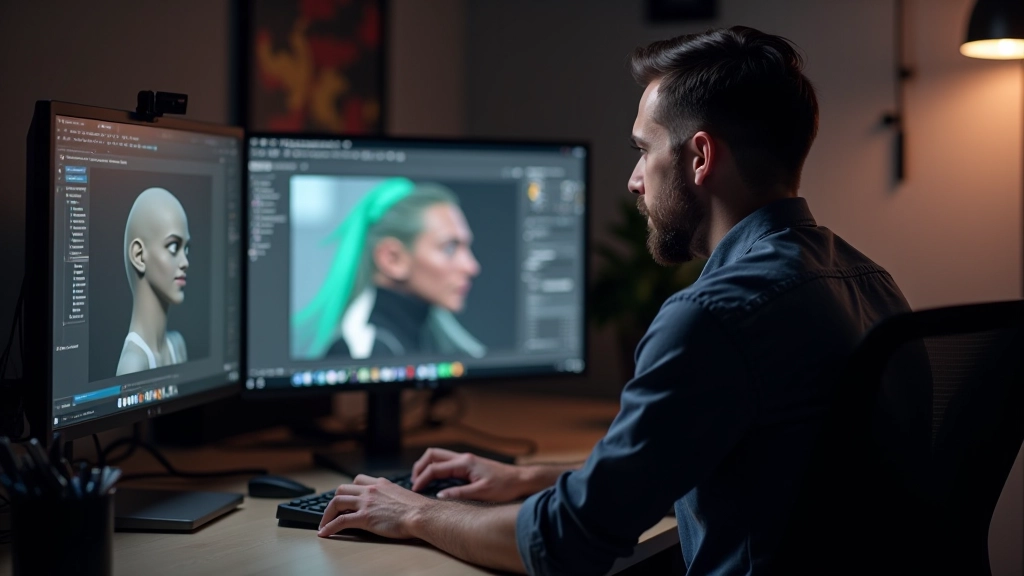
Getting Started with 3D Character Modeling
Learn the fundamentals of sculpting and topology in Blender. We cover the tools you’ll use and best practices for clean geometry.
Concept to completion. We walk through silhouette design, proportions, and how to iterate based on feedback.
Character design for games isn’t just about making something that looks cool. It’s a structured process that takes you from a creative concept all the way through to a production-ready asset. We’re going to walk you through exactly how this works.
Whether you’re designing an NPC, a protagonist, or a background character, the fundamentals stay the same. You’ll start with exploration, move through refinement, gather feedback, and iterate until you’ve got something that works for the game. It’s methodical. It’s repeatable. And once you understand the flow, you can apply it to any character you create.
Every character starts somewhere. You’re not sitting down with a blank canvas and just hoping something good happens. Instead, you’ve got a brief. It might come from a game designer, an art director, or a creative team meeting.
Here’s what you need from that brief: What’s the character’s role? Are they a merchant, a warrior, a scholar? What era or setting are we working in? Fantasy medieval? Sci-fi future? Post-apocalyptic? What’s their personality? And critically — what visual themes or silhouette ideas are we exploring?
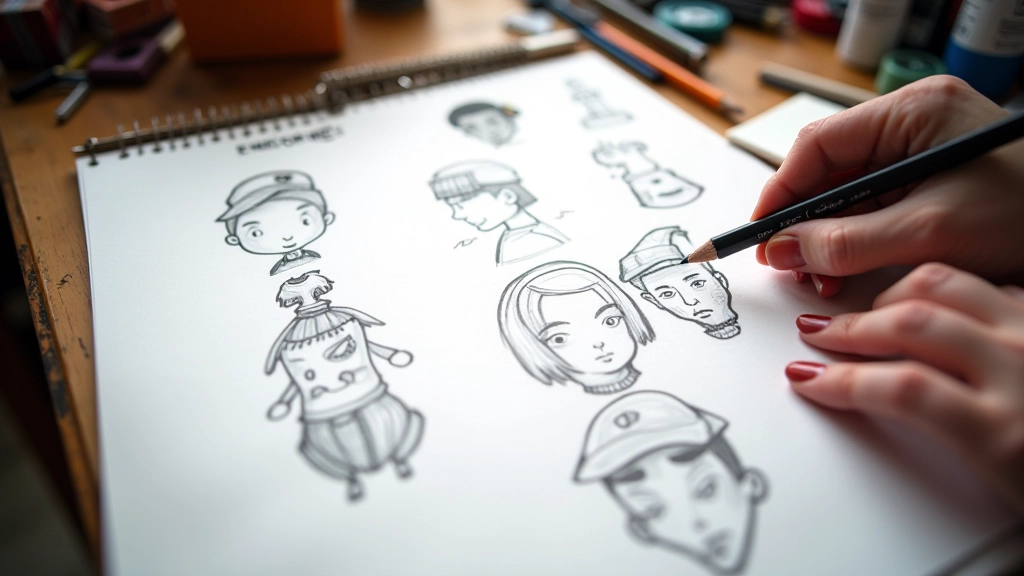
Spend time gathering reference material. We’re talking anatomy references, clothing from the era, architectural elements that might inform their design. You’ll probably spend 3-5 hours just collecting visual research before you even touch your stylus. That research is what keeps your design grounded and believable, even if you’re working in a fantasy setting.

This is where most designers either nail it or struggle. Silhouette is everything. You could have perfect facial details and incredible armor design, but if the silhouette reads poorly — if players can’t instantly tell what your character is at a glance — you’ve failed.
Start by drawing your character as a pure black shape. No details. Just the outline. Is it readable? Can someone tell if it’s a heavy warrior versus a nimble rogue? A character’s shape should communicate their role before anyone even sees their face.
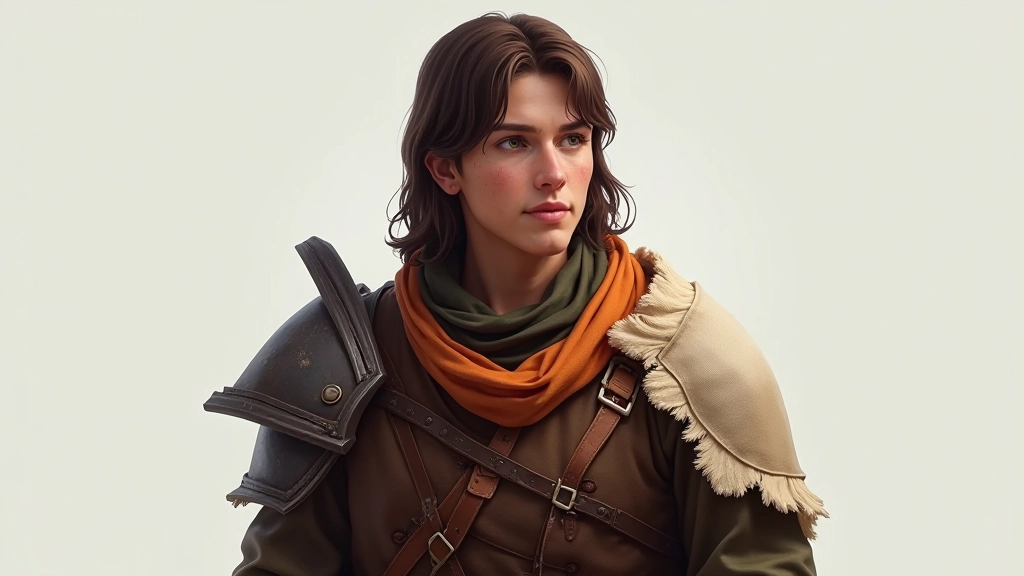
Now proportions. You’re not locked to anatomically perfect human proportions — that’s not the point. But you need consistency. If your character has a large head, that needs to feel intentional. If their limbs are elongated, there’s a reason. Most game characters work well at 7-8 head heights, though stylized designs often go for 6 heads or even 9+ for stylization. Pick your ratio and stick with it across iterations.
Once your silhouette works, you layer in detail. Clothing, armor, accessories, facial features. But here’s the critical thing: every detail should serve a purpose. It should either communicate character, function, or both.
A merchant character might have leather pouches, worn boots, and weathered clothing — things that tell a story about their profession. A noble might have crisp tailoring, fine fabrics, and ornamental jewelry. A warrior needs practical armor with places where weapons attach. None of this is random.
Color palette matters too. You’re probably working with 3-5 dominant colors. Those colors should work together harmoniously and should read clearly at thumbnail size. If your character is a blur of similar mid-tones, players won’t recognize them in-game when they’re tiny on the screen.
You’ve got a solid design. Now it goes to the team. The art director gives feedback. The game designer weighs in on whether it feels like the right character for their story. Leads on animation and rigging tell you if the proportions will work with their skeleton setup.
This is where a lot of designers get defensive. Don’t. Feedback at this stage is a gift. A note like “the silhouette reads too similar to our merchant character” is invaluable — you’d rather catch that now than after modeling and texturing are done.
Silhouette clarity, proportion adjustments, color readability, thematic fit
Usually 2-4 rounds of refinement before approval, 2-3 days per round
Signed off by art director and lead designer, ready for production pipeline
The process we’ve walked through — concept, silhouette, detail, feedback, handoff — isn’t the only way to design characters. But it’s a framework that works. You can compress steps if you’re working fast, or expand them if you’re building something complex.
The key is being intentional. Don’t just draw cool things and hope they work. Think about readability. Think about how your design serves the game. Think about what the next person in the pipeline needs from you.
Once you’ve done this a few times, it becomes muscle memory. You’ll instinctively know what’s readable, what works, what needs adjustment. That’s when character design gets fun — when you’re not thinking about the process anymore, you’re just creating.
This guide represents general practices in game character design based on industry standards and professional experience. Specific workflows vary by studio, project requirements, and team structure. Individual results depend on factors including skill level, tool proficiency, available feedback, and project scope. Always adapt these principles to your specific project needs and team requirements.