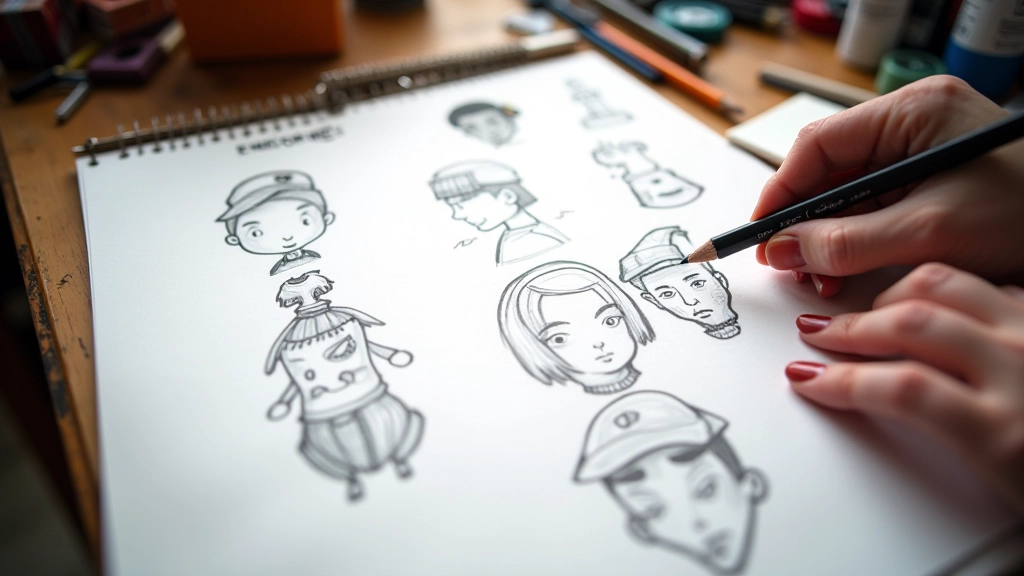
Getting Started with 3D Character Modeling
Learn the fundamentals of sculpting and topology in Blender. We cover the tools, workflows, and best practices for building characters that texture well.
PBR texturing, normal maps, and optimization techniques that separate good characters from great ones. We’ll walk through the complete workflow from initial texture planning to final game engine implementation.

Here’s the thing: you can have perfect geometry and great topology, but without solid texturing, your character won’t feel alive. Texturing isn’t just about adding color. It’s about defining surface properties, material characteristics, and how light interacts with every square millimeter of your model.
The workflow we’re going to cover follows the physically-based rendering (PBR) pipeline. This approach has become industry standard because it’s predictable, scalable, and looks fantastic across different lighting conditions. Whether you’re working in Substance 3D Painter, Marmoset Toolbag, or another texturing suite, these principles apply.
The physically-based rendering approach uses four main texture maps. Each one serves a specific purpose in defining how your character looks under different lighting.
The pure color information without lighting data. Think of it as the raw pigment of the material. Skin, fabric, leather — they all have their own unique color values.
Stores surface detail information using RGB values. This is what creates the illusion of bumps, wrinkles, and fine detail without needing extra geometry. Most of your surface detail lives here.
Defines how much surfaces scatter light. Skin has areas that’re smoother (lips, eyelids) and rougher (cheeks, forehead). Fabric varies too — satin versus linen look completely different.
Metallic channel indicates which areas are metal (value 1.0) versus non-metal (value 0.0). Ambient occlusion shows shadow areas where surfaces meet, adding depth to crevices.
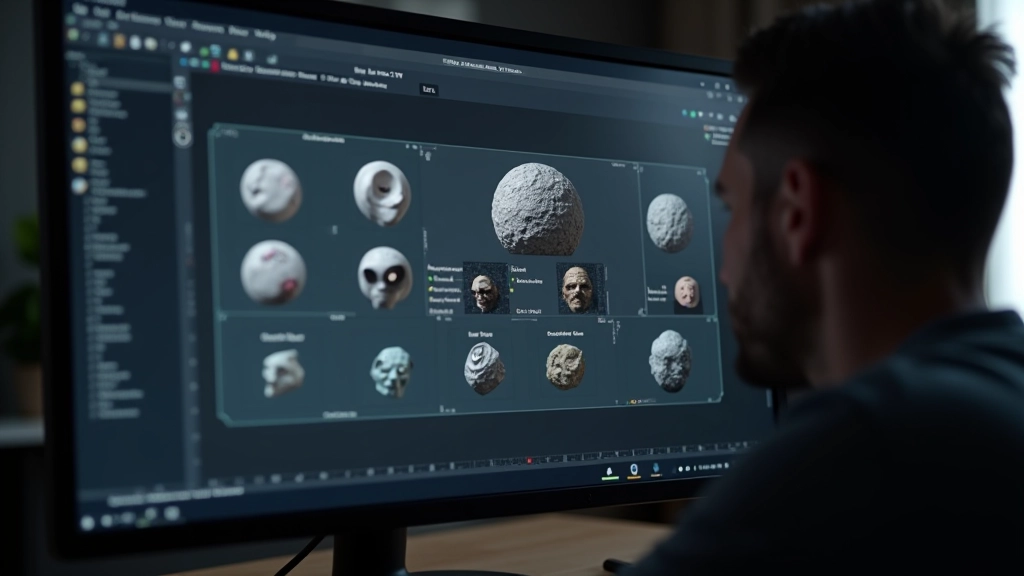

Start with a high-poly sculpt from your modeling phase. You’ll bake down the detail from this sculpt into your normal maps. This is where tools like Marmoset Toolbag or xNormal come in — they take your high-poly geometry and convert it into texture information your game engine can use efficiently.
Most teams work at 4K resolution during production. You’ll export at higher resolutions than your final game resolution, then downscale. Working larger gives you flexibility and catches fine detail better. When you’re painting skin texture, you’re not painting individual pores — you’re creating variation in roughness and subtle color shifts that the lighting engine reads as detail.
Pro tip: Don’t flatten your layer stack until the very end. Keep your base colors, overlay layers, and detail work separate. You’ll need to iterate, and non-destructive workflows save hours when art directors request changes.
Resolution matters, but so does efficiency. You’re not just creating beautiful textures — you’re creating assets that run at 60fps on console hardware. A typical game character uses 2-4 texture sets depending on the LOD (level of detail) system.
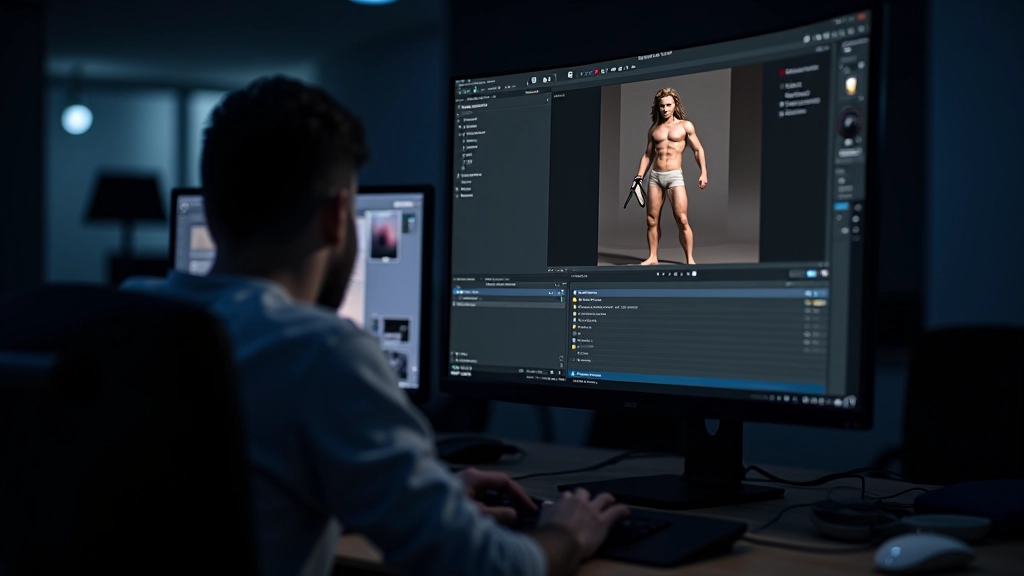
Export your textures in the format your engine expects. Unreal Engine uses specific compression settings. Unity has its own preferences. You’ll want to test your textures in-engine under actual game lighting as soon as possible. Sometimes a texture looks perfect in Substance but needs tweaking once you see it in the real environment with your game’s lighting model.

Texturing is where your character truly comes to life. The modeling phase creates the foundation, but texturing adds soul. Every pore on skin, every thread in fabric, every scuff mark on armor — these details make players believe in your character.
The workflow we’ve covered — from baking high-poly detail through PBR maps to engine integration — is the approach used across the industry. It’s reliable, it scales across team sizes, and it produces results that stand up to scrutiny. You’ll iterate on these fundamentals throughout your career, learning new software and techniques, but the core principles stay constant.
Start with solid foundations. Understand why each texture map exists. Test early in your target engine. And don’t be afraid to spend time refining materials — that’s where the magic happens.
This article is for educational purposes. Software versions, workflows, and best practices evolve constantly. The techniques described represent current industry standards as of 2026, but your specific production pipeline may vary based on your engine choice, team size, and project requirements. Always consult official software documentation and test workflows with your target platform. Results depend on individual skill, hardware capabilities, and project constraints.