Getting Started with 3D Character Modeling
Learn the fundamentals of sculpting and topology in Blender. We cover the tools beginners need most.

Why Start with the Basics
You don’t need expensive software or years of experience to start modeling characters. Blender is free, powerful, and honestly the best place to learn 3D fundamentals. It’s what studios use, what professionals recommend, and what’ll actually stick with you.
The first few weeks feel overwhelming — there’s topology, UV mapping, sculpting modes, rigging concepts. But here’s the thing: you don’t need to master everything at once. We’re focusing on what matters most for a beginner. The foundational skills that make sense before you worry about advanced techniques.
What You’ll Understand After This
- How polygon topology affects character movement
- The difference between sculpting and hard-surface modeling
- Basic Blender navigation and essential tools
- Why proportions matter before you add detail
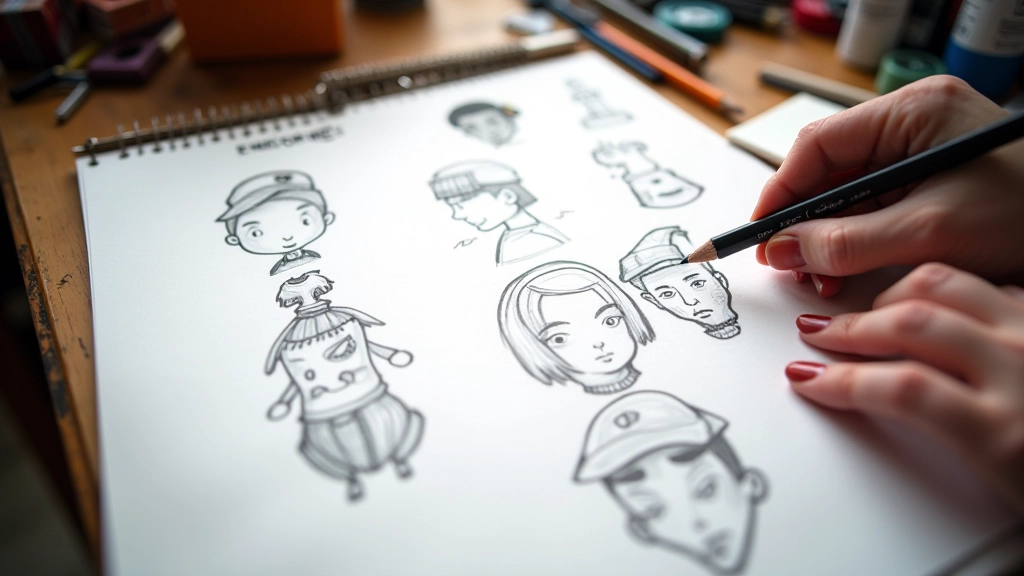
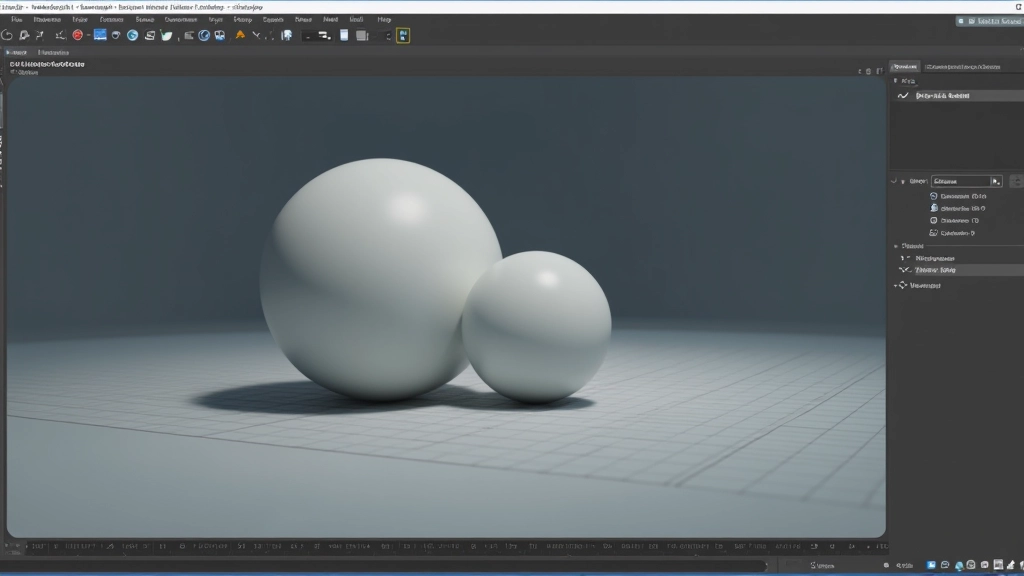
Starting with Basic Shapes
The smartest way to begin? Start with a sphere or cube. Seriously. Don’t jump into downloading a base mesh or using pre-made models. Building from a primitive shape teaches you how modeling actually works — how vertices connect, how topology flows, why edge loops matter.
When you add a UV sphere to your scene and start adding edge loops, you’re learning the grammar of 3D. You’ll understand that a character isn’t just “a shape” — it’s thousands of connected points positioned in 3D space. Those points need to flow in specific ways so the model deforms properly when it gets rigged.
Most beginners skip this step and wonder why their model looks broken when animated. You won’t make that mistake. Starting simple builds your intuition for the craft.
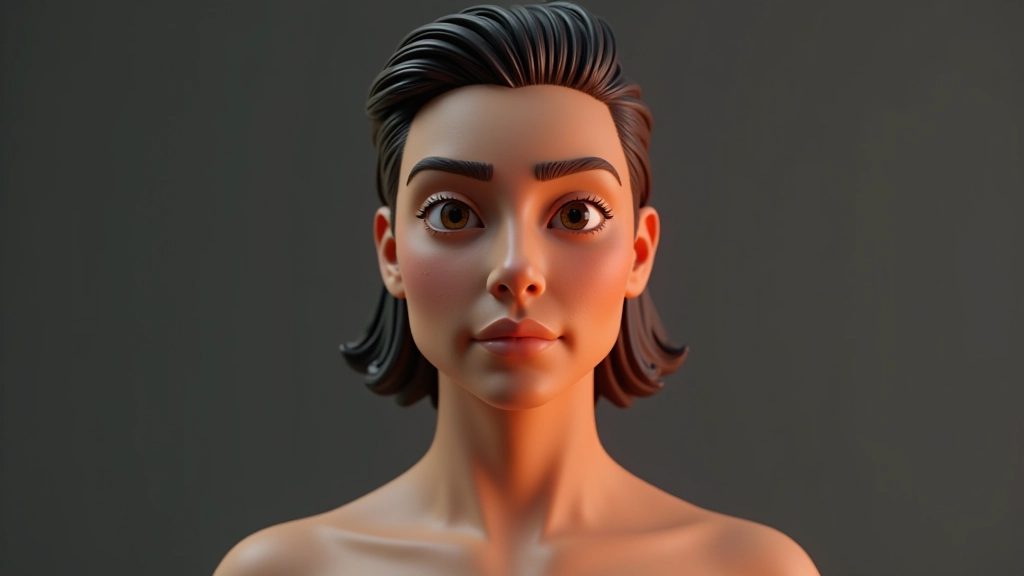
Understanding Topology
Topology is just the word for “how your polygons are arranged.” And it matters way more than the number of polygons you have. A character with 50,000 well-placed vertices will deform beautifully. A character with 100,000 poorly-placed vertices will look like plastic when it moves.
The key principle: edge loops should follow the natural muscle and bone structure of your character. Around the eyes? Edge loops follow the eyelids. Around the mouth? They wrap around the lips. At the shoulder? They trace the deltoid muscle.
You don’t need perfect topology to start. But understanding the “why” behind it changes everything. It’s the difference between following a tutorial step-by-step versus actually knowing what you’re doing.
Your First Workflow: From Concept to Rough Model
Reference and Proportions
Gather reference images — front, side, and 3/4 views. A human head is roughly 8 times the height of the face width. Shoulders are about 4 head-widths wide. These aren’t rules, they’re starting points.
Block Out the Form
Add a sphere, scale it into a head shape. Add cylinders for the neck and torso. This isn’t about detail — it’s about proportion. Does the head sit correctly on the neck? Does the torso feel balanced?
Add Edge Loops Strategically
Use the Loop Cut tool (Ctrl+R in Blender) to add edge loops where you need deformation. Around the eyes, mouth, joints. Start sparse — you can always add more.
Shape and Sculpt
Switch to Sculpt Mode (Tab then press + for Sculpt). Use the Draw brush to push and pull geometry. This is where it feels like actual sculpting. Build the cheekbones, define the jawline, create volume.
Essential Tools You’ll Use Constantly
You don’t need to memorize every tool in Blender. Start with five core tools and you’ll be surprised how far you get. Each one solves a specific problem, and once they’re muscle memory, modeling becomes fluid.
Loop Cut Tool
Add edge loops for deformation. Shortcut: Ctrl+R. You’ll use this constantly. It’s how you add topology where you need it.
Proportional Edit
Move vertices smoothly without tearing geometry. Hold O to toggle, then move vertices and watch the falloff. Transforms harsh edits into organic shapes.
Sculpt Mode Brushes
Draw, Grab, Smooth, and Crease brushes handle 80% of sculpting work. You’re not creating detail — you’re pushing and pulling mass around.
Subdivision Surface Modifier
Smooth your model without adding geometry. Add this modifier and watch your blocky model become organic. Essential for characters.
Mirror Modifier
Build one half of the face, mirror it to the other side. Saves hours and ensures symmetry. Most character work is mirrored.
Bevel Tool
Soften sharp edges without adding unnecessary geometry. Shortcut: Ctrl+B. Adds realism to hard-surface details and character features.
How Long Until You See Progress
Here’s what’s realistic: In the first 2-3 weeks, you’ll understand the Blender interface and create your first recognizable head. It won’t be beautiful, but you’ll see a face emerging from primitives. That’s huge.
By week 6-8, if you’re putting in 5-10 hours per week, you’ll have a solid character base. Not production-ready, but something you’d actually show someone. The model will deform properly, the proportions will feel right, and you’ll understand why every polygon is where it is.
Don’t rush. The goal isn’t to create a masterpiece — it’s to build intuition. Every hour you spend in Blender teaches you something. Every mistake teaches you more than any tutorial.

Start Simple, Build Complex
Character modeling isn’t a mystery reserved for industry veterans. It’s a skill that develops through understanding principles, practicing workflows, and iterating constantly. You’ve got the fundamentals now — proportions, topology, essential tools, realistic timelines.
The hardest part? Starting. Opening Blender and adding that first sphere feels small. But that’s exactly how every character artist began. The next step is the sculpting fundamentals, then rigging, then animation. But that’s the journey ahead.
Right now? Start with a sphere. Add an edge loop. Push some geometry around. Build intuition. Everything else follows naturally from there.
Read Next: Character Design Process for Game AssetsEducational Disclaimer
This article provides educational information about 3D character modeling fundamentals and Blender workflows. The techniques and timelines described represent common learning paths but may vary based on individual experience, available practice time, and learning style. Always refer to official Blender documentation and consider supplementary tutorials from experienced instructors. Software versions and tools evolve — ensure you’re using up-to-date resources for current software versions.